My hubby and I really like Greek food! One day we order take-out from out local Greek restaurant and decided to treat ourselves to some baklava for dessert. Then my husband (knowing full well what he was doing ;) made some comments about how much he likes baklava and how I would probably never be able to make it at home because it is so difficult. CHALLENGE ACCEPTED! I found this recipe and have been making homemade baklava ever since! The best part is that my hubby has told me multiple times that my baklava is the best he has ever had!

Ingredients
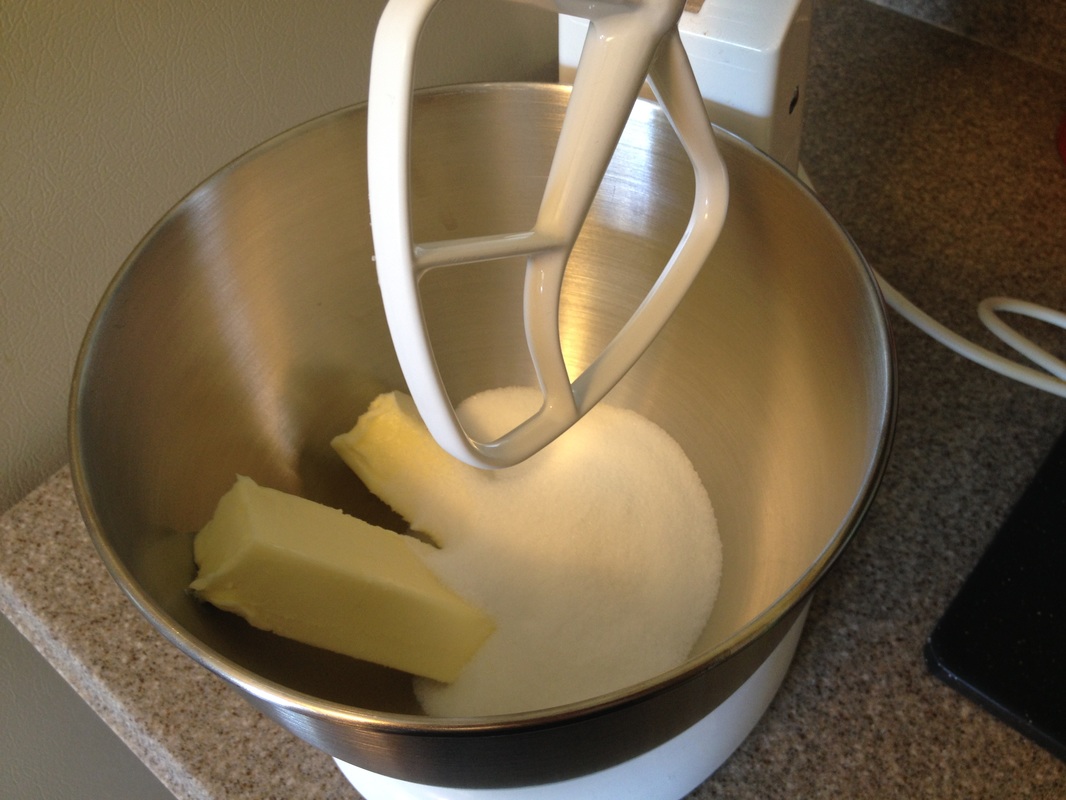
| * 1 (16 ounce) phyllo dough (thawed) * 1 pound chopped Walnuts * 1 cup butter (melted) * 1 teaspoon ground cinnamon * 1 cup water * 1 cup white sugar * 1 teaspoon vanilla extract * 1/2 cup honey |  |
Directions
Preheat oven to 350 degrees F. Butter the bottoms and sides of a baking dish.
Chop nuts until they are fine.
 |  |
Toss the chopped nuts with the cinnamon and set the mixture aside.

Unroll phyllo dough. Cut whole stack to fit pan. ***Work quickly, you may want to cover the phyllo dough or place it in the refrigerator if it begins to dry out.
 |  |
Place two sheets of dough in pan, butter thoroughly.
 |  |
Repeat until you have 8 sheets layered.

Sprinkle 2 - 3 tablespoons of nut mixture on top.

Top with two sheets of dough and butter them thoroughly. Then layer with more nuts. Repeat this layering process until you have used all of the nut mixture, or you reach your desired height.
 |  |
The top layer should consist of 6 - 8 sheets of phyllo dough (buttering after ever two sheets).


Using a sharp knife cut into diamond or square shapes all the way to the bottom of the pan.

Bake for about 50 minutes until baklava is golden and crisp. Make sauce while baklava is baking.
Boil sugar and water until sugar is melted.
 |  |
Add vanilla and honey.

Simmer for about 20 minutes. Let cool.

Remove baklava from oven and immediately spoon sauce over the hot baklava. (I forgot to take a picture of this step!) Let cool. Leave it uncovered as it gets soggy if it is wrapped up.